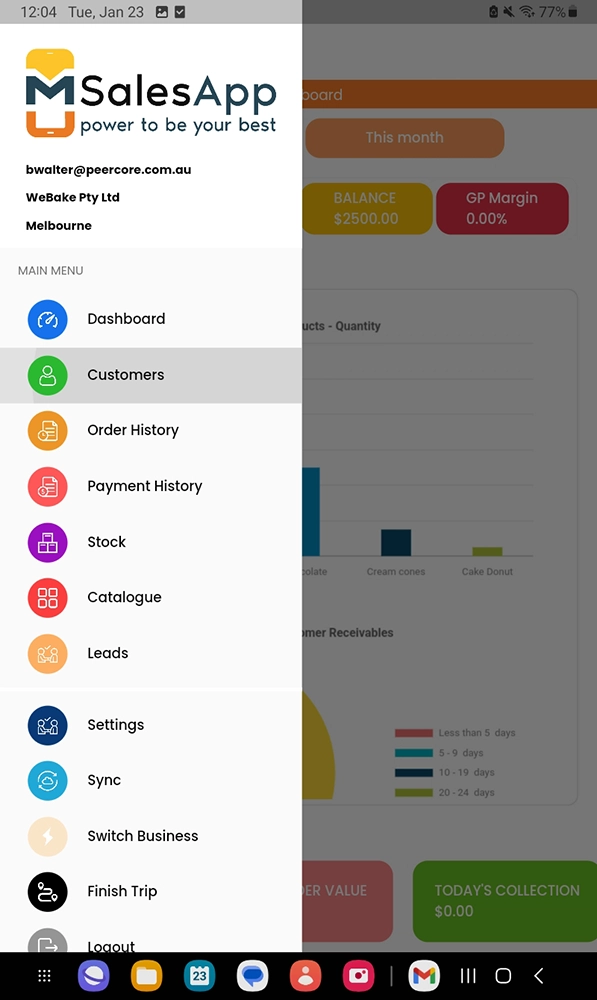
To create a new sales invoice in mSalesApp, you will first have to look for the 'Customers' option on the menu bar.
Click on the icon “Customers”.
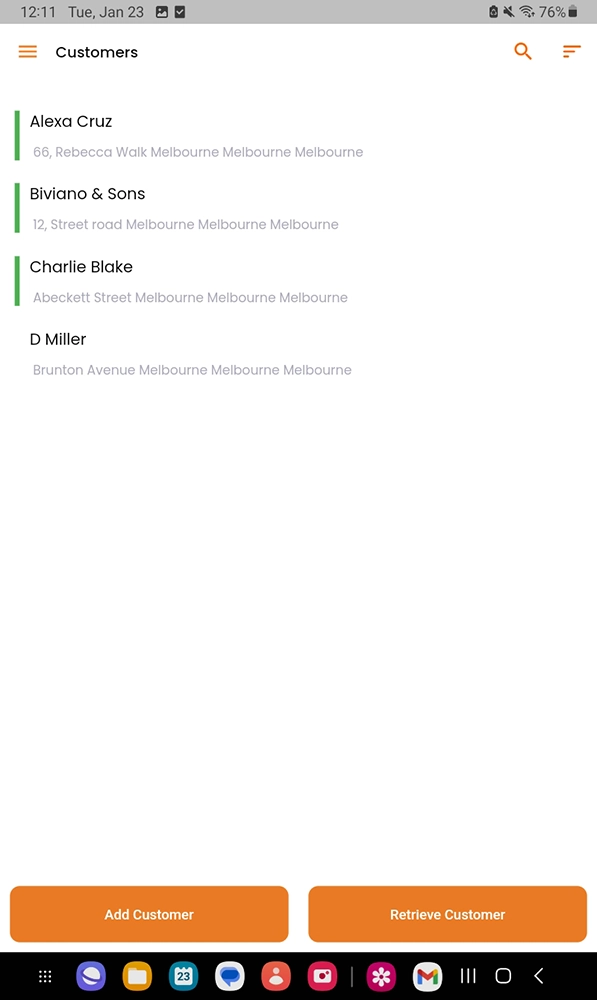
After selecting the “Customer” option, you will have to select a desired customer to place an order as shown in the screen below.
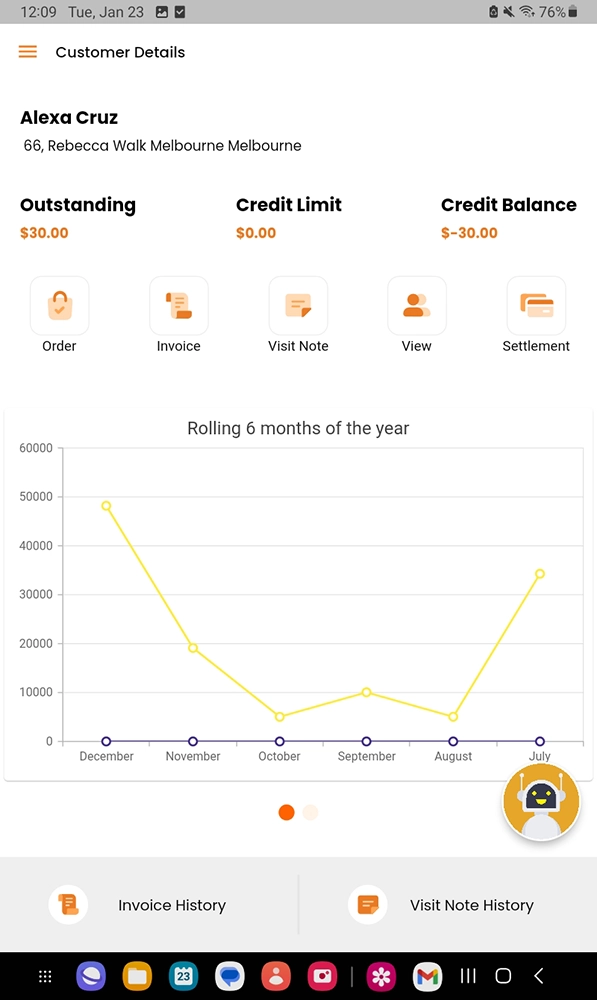
This page opens under ‘customer details’ - There Access “Invoice” to create a new sales invoice order.
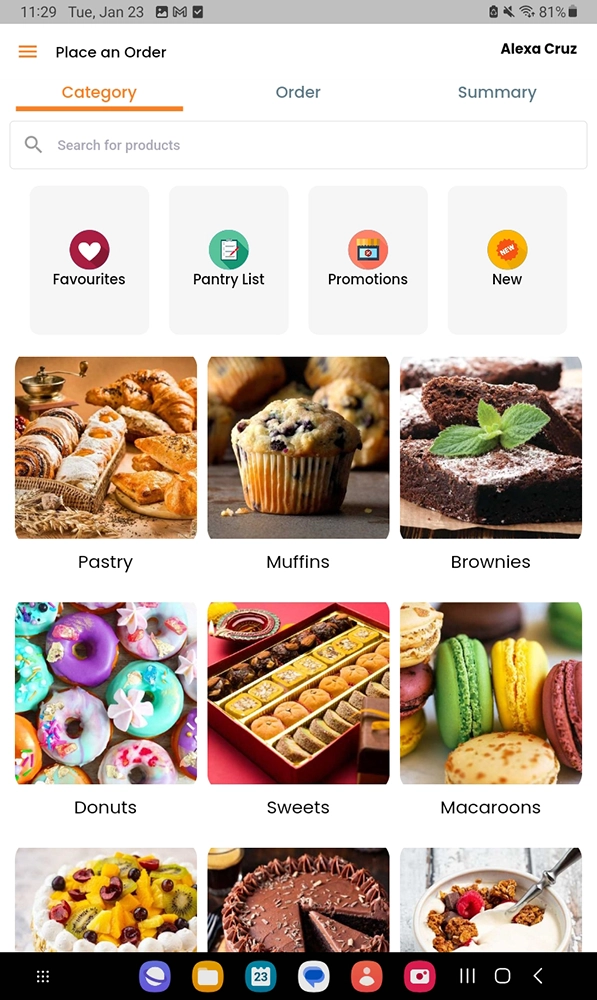
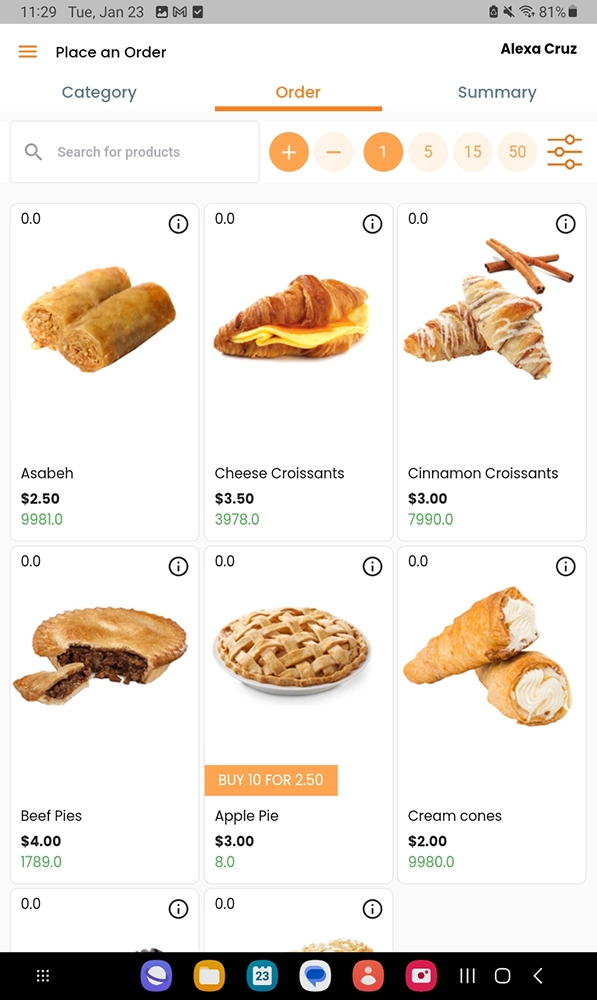
Next, select a product category to view products and its details.
Click on the product to add it to the order list, make sure the “+” sign is highlighted and adjust the quantity of the products as shown in the below screen.
If you want to deduct the quantity of a certain product off your order list you can simply click the “-” sign and adjust the quantity number of how much.
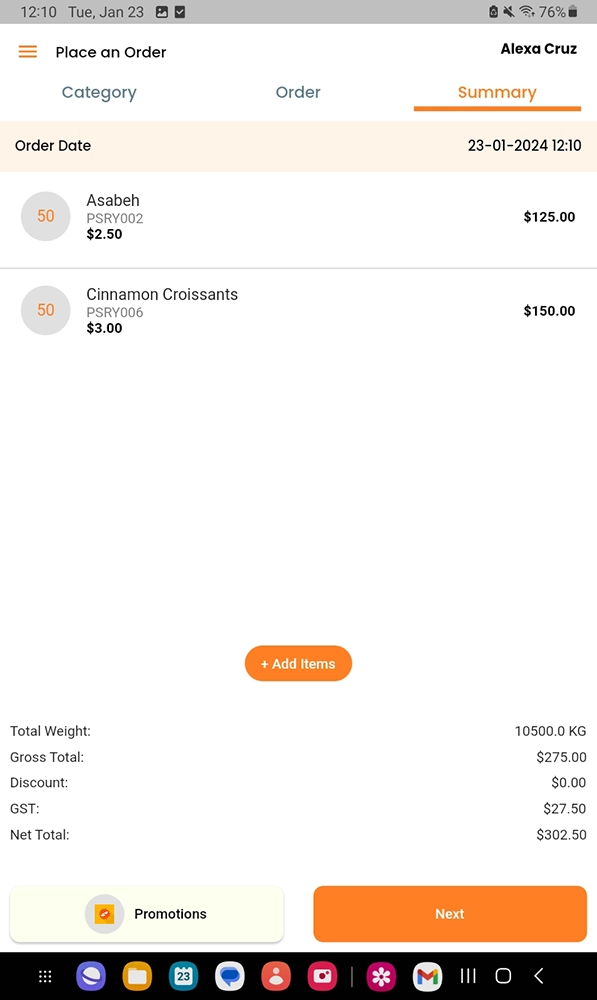
Next, access the ‘summary’ section where you can view your selected products with the total pricing. You also have the option to apply for any of the available promotions. Click "Next" to complete and finalise your order.
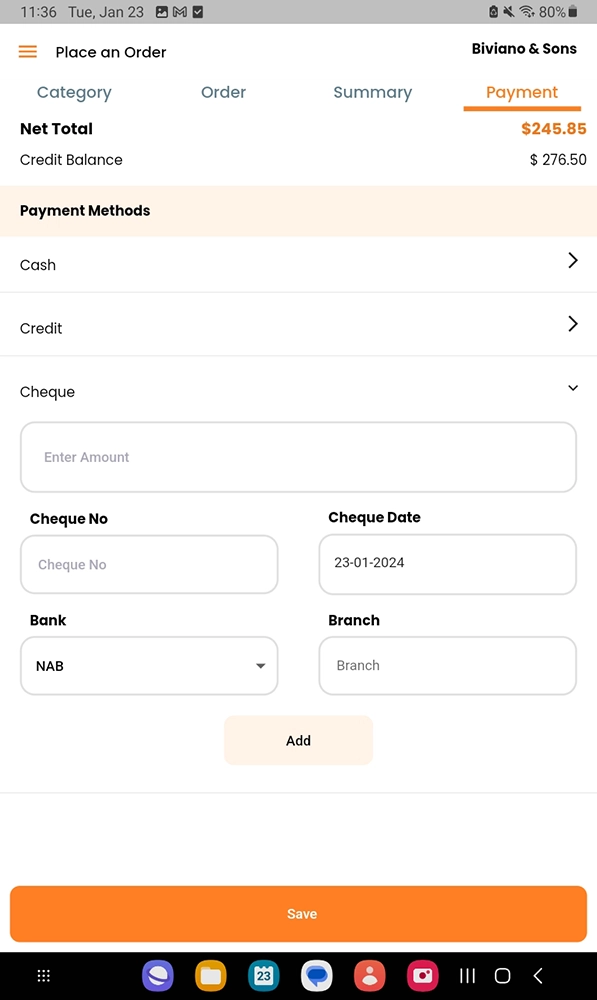
Following the summary review, proceed to the Payment Section. Here, you will find various payment methods available.
Choose the one that is the most convenient payment method for you as shown below, and to proceed click “Save”.
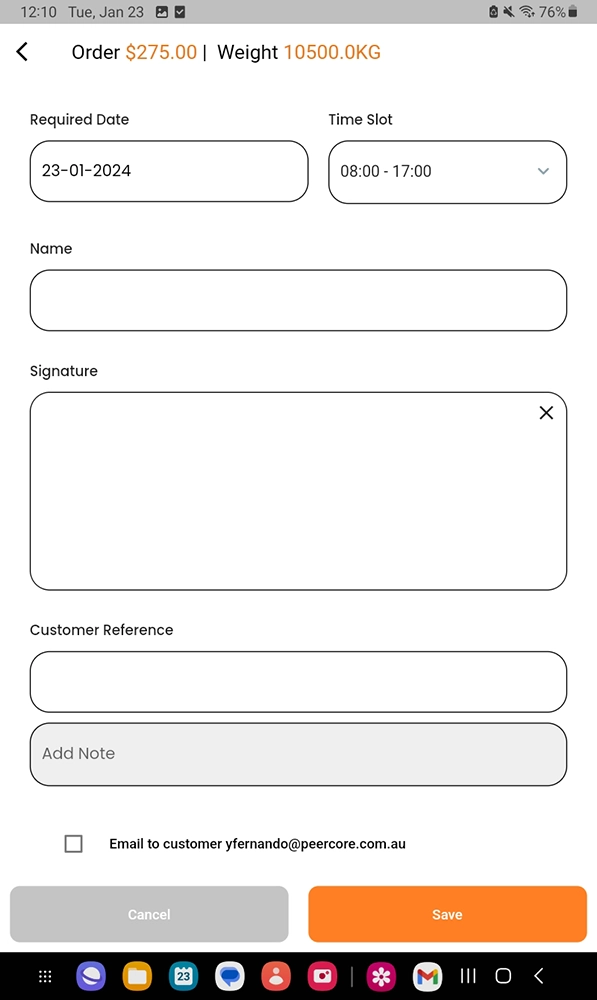
After entering the required details, you can then proceed to complete placing the invoice order by clicking on the 'Save' button found on the bottom of the screen as shown below.
Creating a Sales Order via Peercore Cloud
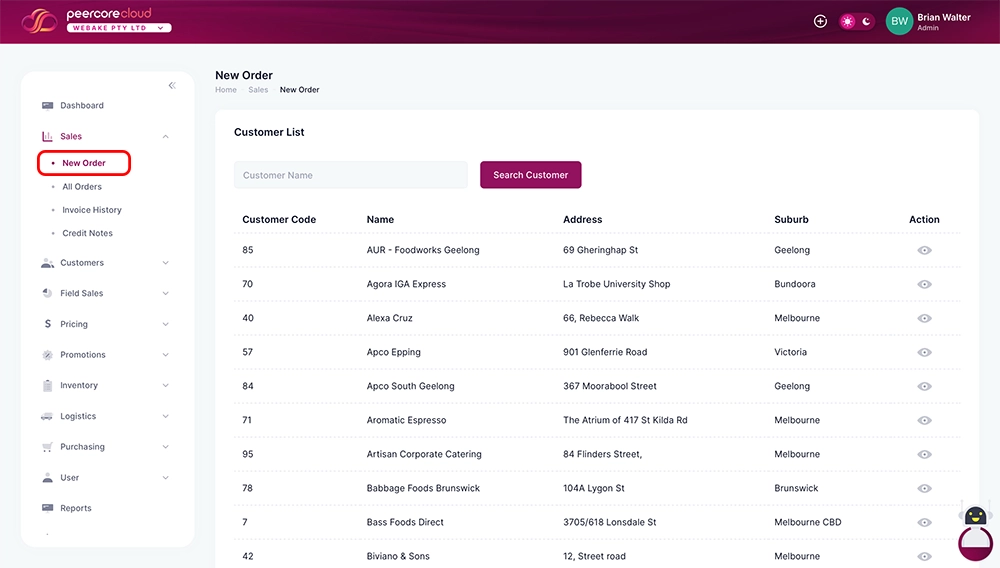
To create a new order in mSalesApp, you will first have to look for the 'Sales' option on the menu bar.
Click on the icon “New Order”
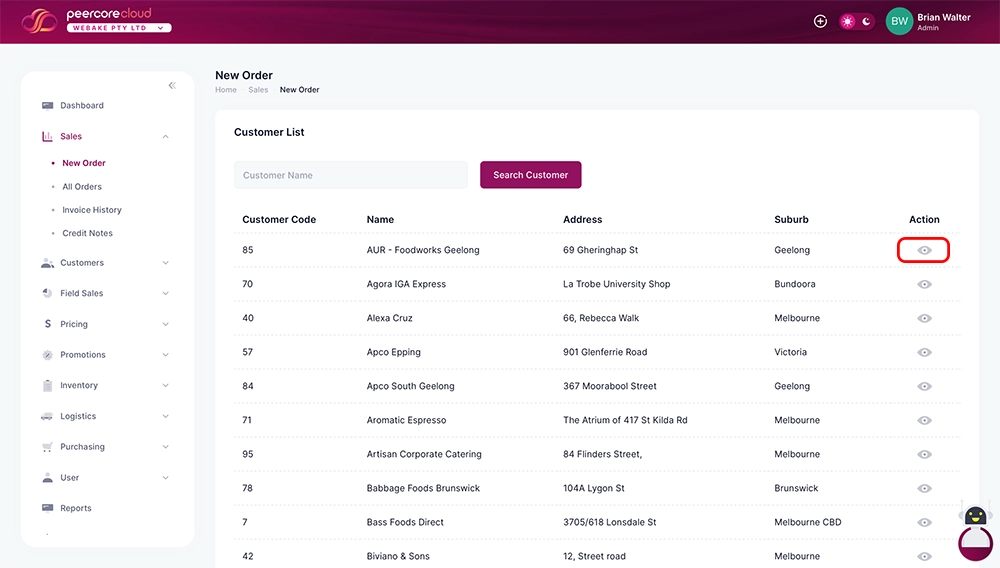
Next, click the “Action” tab - (eye icon) to view the customer
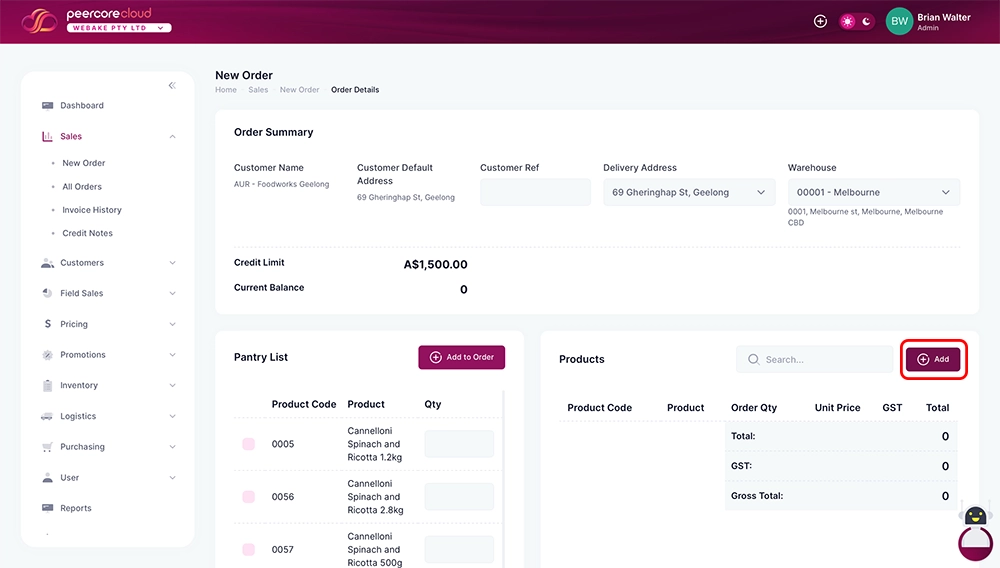
Then the new order page opens there you will be prompted to fill in the new order details, then click “Add” to select the products as shown in the screen below.
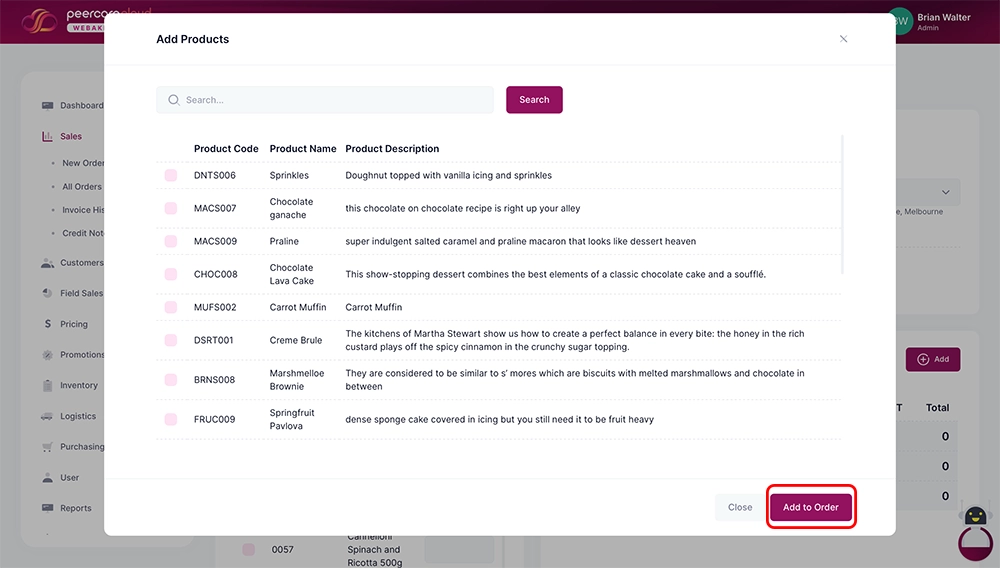
Once clicking that ‘Add Products’ page opens and you will have to select the products and once done click “Add to Order”
After entering all the New Order data and then select a collection option and payment option.
Lastly, you can then proceed to place the order by clicking the “Confirm Order” as shown in the screen below.